
Overview
This article explains how to move students between classes using the Assessments → Move students option. This function can be used throughout the year to move students. Data will follow the student no matter the class assignment.
Move students into a New or Existing Class
-
Access the Move Students Page
-
-
Log into EPS Connect
-
From the main menu, select Assessments
-
Click Move Students
-
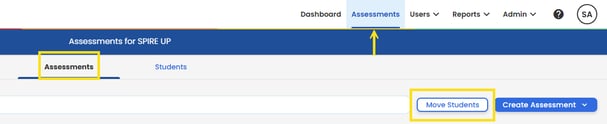
On this page, all classes and their associated students are displayed. You can move one or more students to an existing class or create a new class.
Move to an Existing Class
-
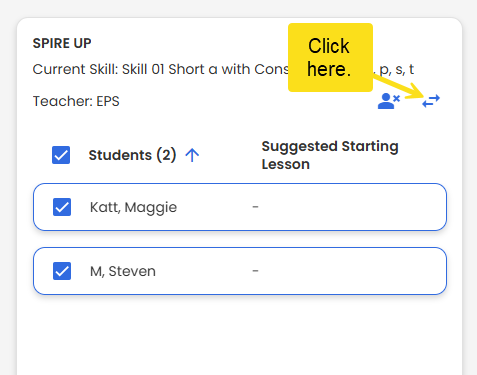
Locate the class containing the students you wish to move and click the Change Class button.
-
-
A list of available classes appears. Note that Students can only be moved to a class with the same course as their current class. A student can only be in one class at a time.
-
A window appears indicating the class the students are currently in as well as the available classes into which the students can be moved.
-
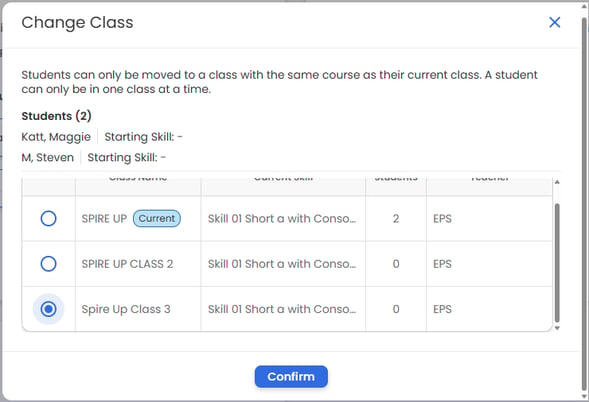
- Select the class you want to move the students into, then click Confirm.
- A message will appear indicating that the "Student(s) are being moved.
Please note that it may take a few moments for students to appear in their new class and for reports to update. Refresh the page to view updates."
Move to a New Class
-
Navigate to the Move Students page where the classes are displayed.
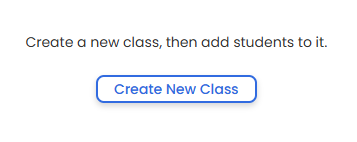
- Select Create New Class in the window displaying this option.
-
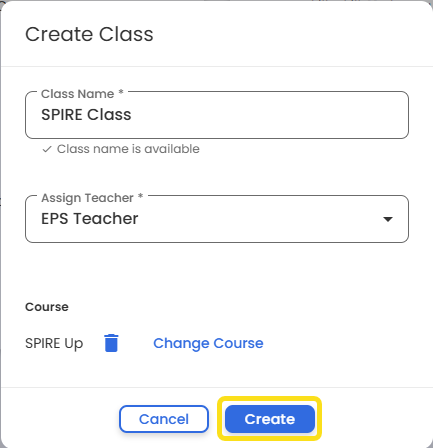
Enter the required field information, and click Create.
- After the new class has been created, follow the steps above to move the students into the new class.