Overview
This article explains how to create classes and assign the SPIRE Up course.
Method 1- All SPIRE Up Districts
Method 2- Manually Rostered Districts only
Create a New Class
Method 1: From the Assessments Tab
⚠️This is the method required for ClassLink or Clever rostered districts.
-
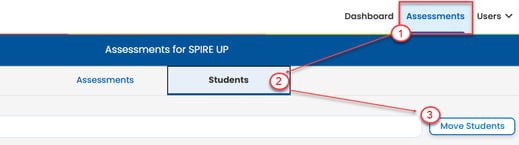
Select Assessments.
- On the Assessment page, select Students then Move Students.
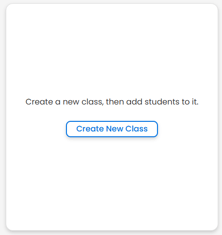
- Click Create Class icon.
- Name the class and add the SPIRE Up course
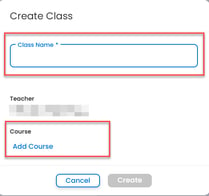
- Click Create
Method 2: From the Users tab
⚠️This method is only available for Manually Rostered districts.
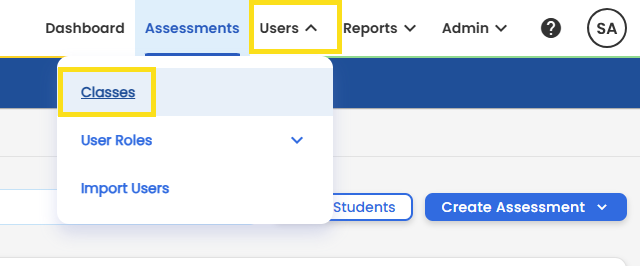
- Select Users → Classes.
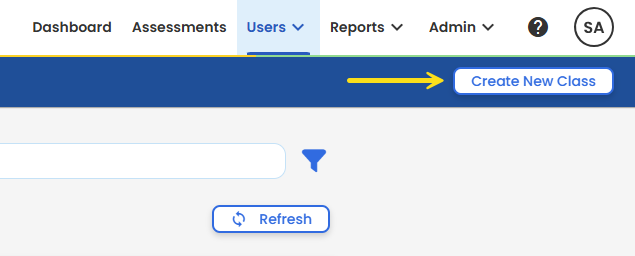
- Click Create New Class.
- Enter required information.
- Class Name
- Subject
- Grade
- Term
- Assign a Teacher
- Click Save.
Once you have created a class, you will need to assign the course:
-
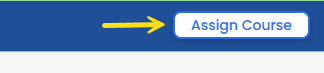
On the Class Details page, scroll to the bottom and click Assign Course.
-
Select the course(s) to assign and then click Next.
- Modify the term Type, if applicable.
- Click Assign Course.