
Overview
This article explains how to add or move students to a SPIRE Up class. There are three ways to accomplish this depending on how your district is rostered.
Method 1: From the Class Details Page
⚠️This is the method required for ClassLink or Clever rostered districts.
-
To access the Class Details page, select Assessment→ Classes from the drop down menu and click on the class name.
- On the Assessment page, select Students then Move Students.
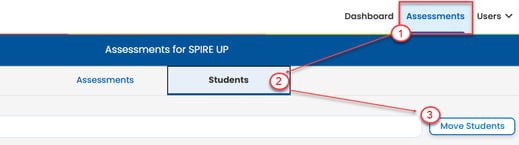
- Select the students to move.
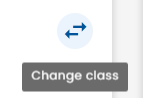
- Click Change Class icon.
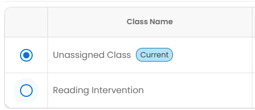
- Select the intended class.
- Click Confirm
Method 2: From the Classes List
This method is only available for Manually Rostered districts.
- From the menu select Users → Classes.
- Locate the class you created.
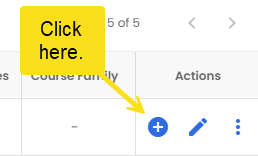
- In the Actions column, click the blue + button.
-
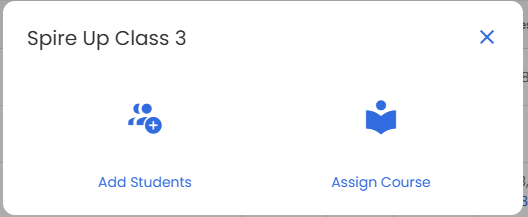
In the pop-up window, select Add Students. Once selected, follow the same steps outlined above.
Method 3: From the Main Dashboard
This method is only available for Manually Rostered districts.
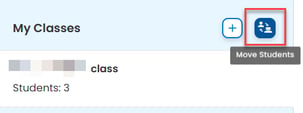
- From the main dashboard click the Move Users icon.
- Locate the class you created.
- In the Actions column, click the blue + button.
-
In the pop-up window, select Add Students. Once selected, follow the same steps outlined above.